Create a new Next.js App
Step 1: Install dependencies
First, ensure that you have the latest versions of Node and NPM installed. You can check your current versions by running the following commands:
~/_/a0-samples $ node --version
v20.10.0
~/_/a0-samples $ npm --version
10.2.5
Step 2: Bootstrap new app
To create a new Next.js app, run the command below:
npx create-next-app@latest <APP_NAME>In this tutorial, we’ll configure the app to use Tailwind CSS and the App Router.
~/_/a0-samples $ npx create-next-app@latest a0-sample-nextjs
✔ Would you like to use TypeScript? … No / Yes
✔ Would you like to use ESLint? … No / Yes
✔ Would you like to use Tailwind CSS? … No / Yes
✔ Would you like to use `src/` directory? … No / Yes
✔ Would you like to use App Router? (recommended) … No / Yes
✔ Would you like to customize the default import alias (@/*)? … No / Yes
After creating the app, navigate to the root of the app directory:
cd a0-sample-nextjsTo start the development server, run:
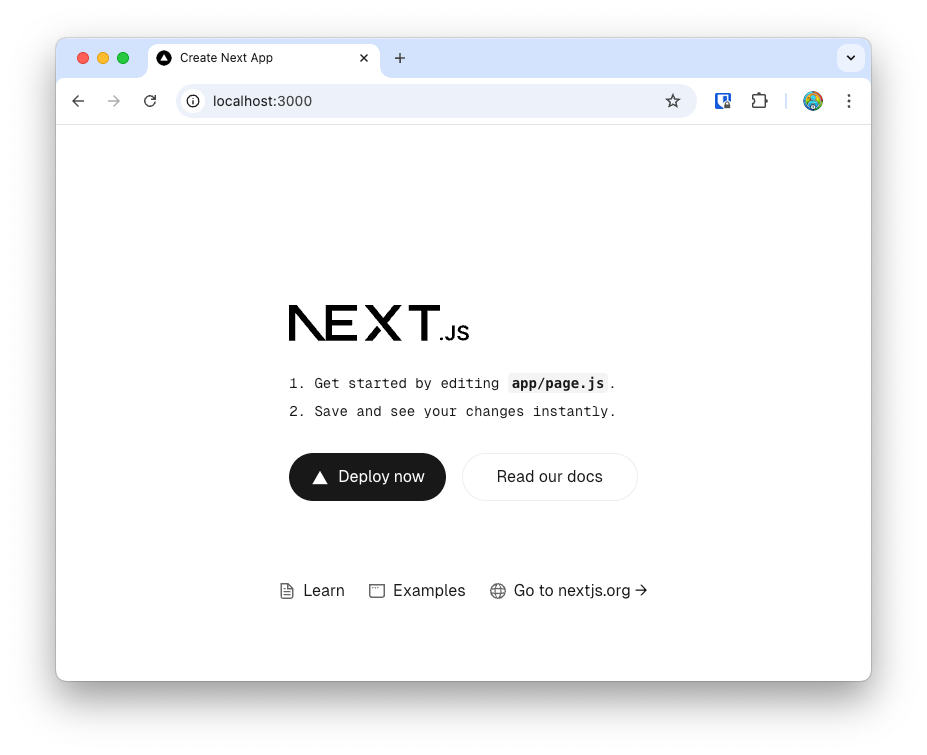
npm run devOpen a browser and navigate to http://localhost:3000/ to see the default Next.js page.
Step 3: Add login & logout sections
Now, open the root directory of your project in a code editor. Replace the contents of the app/page.js file with the following code:
export default function Home() {
const user = null;
return (
<div className="flex flex-col p-5 text-2xl gap-4">
{user ?
<>
<p>Hello, {user}</p>
<p>
<a href="#" className="text-blue-600 hover:underline">
Logout
</a>
</p>
</>
:
<>
<p>Hello, Stranger</p>
<p>
<a href="#" className="text-blue-600 hover:underline">
Login
</a>
<a href="#" className="text-blue-600 hover:underline">
Signup
</a>
</p>
</>
}
</div>
);
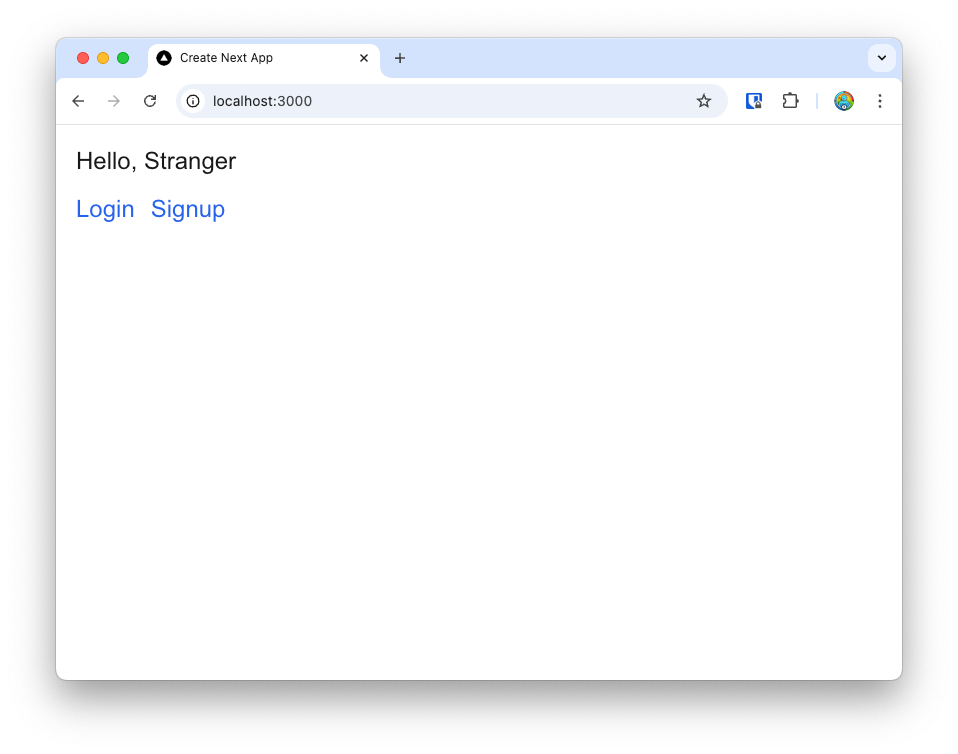
}Here, we’ve defined a user variable. If this variable is not null, the app will display a “logged in” view; otherwise, a “logged out” view will appear. Later, we’ll update this code to get the value of user from the Auth0 SDK.
After saving the file, refreshing your browser at http://localhost:3000/ should show you the updated view.
You now have a barebones Next.js app up and running with a single page. In the next post, we’ll configure a new application in Auth0, and then wire this Next.js application to use Auth0 for authentication.